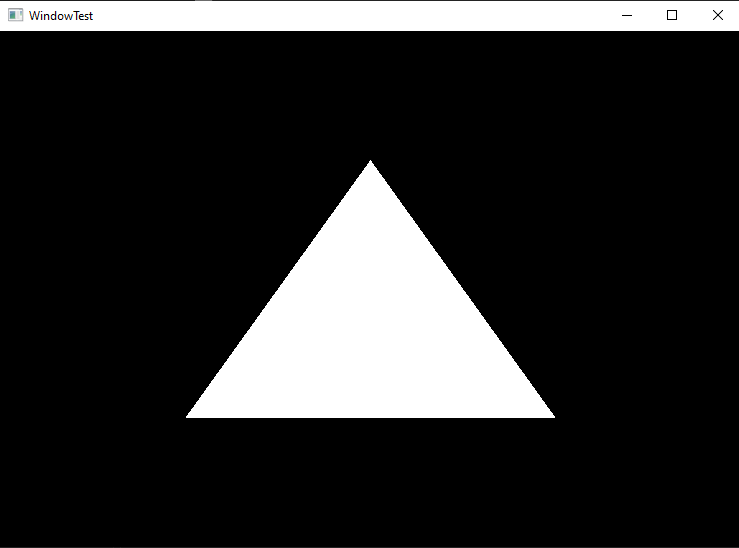
Drawing a Triangle with Raftel Engine
This tutorial will guide you through the process of drawing a simple triangle using Raftel Engine. This is a fundamental skill that forms the basis for more complex rendering operations.

Prerequisites
Before you begin, make sure you have:
- Raftel Engine installed on your system
- Completed the Creating a Window tutorial
- A basic understanding of C++ programming
- Familiarity with fundamental 3D graphics concepts
Drawing a Triangle
Step 1: Include Required Headers
Start by including the necessary headers for window management and shape rendering:
#include "raftel/window.hpp"
#include "raftel/shape.hpp"
Step 2: Initialize the Window
Create a window as we learned in the previous tutorial:
int main(void) {
  auto windowSystemOpt = Raftel::WindowSystem::make();
  auto windowOpt = Raftel::Window::make("WindowTest", *windowSystemOpt);
  if (!windowOpt) {
      std::cerr << "Error creating window\n";
      return -1;
  }
  windowOpt->MakeContextCurrent();
}
Step 3: Define Triangle Vertices
Define the vertices that will form your triangle. Each vertex consists of three coordinates (x, y, z):
std::vector triangleVertices = {
   0.0f,  0.5f,  0.0f, // Top vertex
   0.5f, -0.5f,  0.0f, // Bottom right vertex
  -0.5f, -0.5f,  0.0f  // Bottom left vertex
};
Understanding Coordinates
In Raftel Engine, the coordinate system ranges from -1.0 to 1.0 for both the x and y axes, with the origin (0,0) at the center of the screen. The z-axis points out of the screen, with negative values going into the screen.
Step 4: Create a Shape Object
Create a Shape object using the vertices you defined:
Raftel::Shape triangle(triangleVertices);Step 5: Set Up the Render Loop
Create a render loop to draw the triangle continuously:
while (!windowOpt->ShouldClose()) {
  windowOpt->clear();
  triangle.draw();
  windowOpt->swapBuffers();
}
Render Loop Explained
The render loop performs these steps in each iteration:
windowOpt->clear(): Clears the window to prepare for new renderingtriangle.draw(): Draws the triangle shape to the back bufferwindowOpt->swapBuffers(): Swaps the front and back buffers to display the rendering
Complete Example
Here's the complete code for drawing a triangle with Raftel Engine:
#include "raftel/window.hpp"
#include "raftel/shape.hpp"

int main(void) {
  // Initialize window
  auto windowSystemOpt = Raftel::WindowSystem::make();
  auto windowOpt = Raftel::Window::make("WindowTest", *windowSystemOpt);
  if (!windowOpt) {
      std::cerr << "Error creating window\n";
      return -1;
  }
  windowOpt->MakeContextCurrent();

  // Define triangle vertices
  std::vector triangleVertices = {
     0.0f,  0.5f,  0.0f, // Top vertex
     0.5f, -0.5f,  0.0f, // Bottom right vertex
    -0.5f, -0.5f,  0.0f  // Bottom left vertex
  };

  // Create triangle shape
  Raftel::Shape triangle(triangleVertices);

  // Main render loop
  while (!windowOpt->ShouldClose()) {
    windowOpt->clear();
    triangle.draw();
    windowOpt->swapBuffers();
  }

  return 0;
}
Next Steps
Now that you've learned to draw a basic triangle, you can move on to more advanced topics:
Handling Input
Learn how to respond to user input to make your applications interactive.
Loading 3D Meshes
Move beyond simple shapes to load and render complex 3D models.
For complete API details, see the Shape Class Reference in the API documentation.
